Laser-ultrasonics industrial and research applications
Pushing the limits of non-destructive testing.
Talk to an expertTecnar's laser UT industrial applications
Laser UT can provide unique insights due to its high spatial resolution and its natural fit for in-line measurements. Hundreds of systems are now in operation around the world and several industrial applications are still being developed.
Microstructure analysis
In-laboratory routine microstructure analysis, moving towards in-line use.
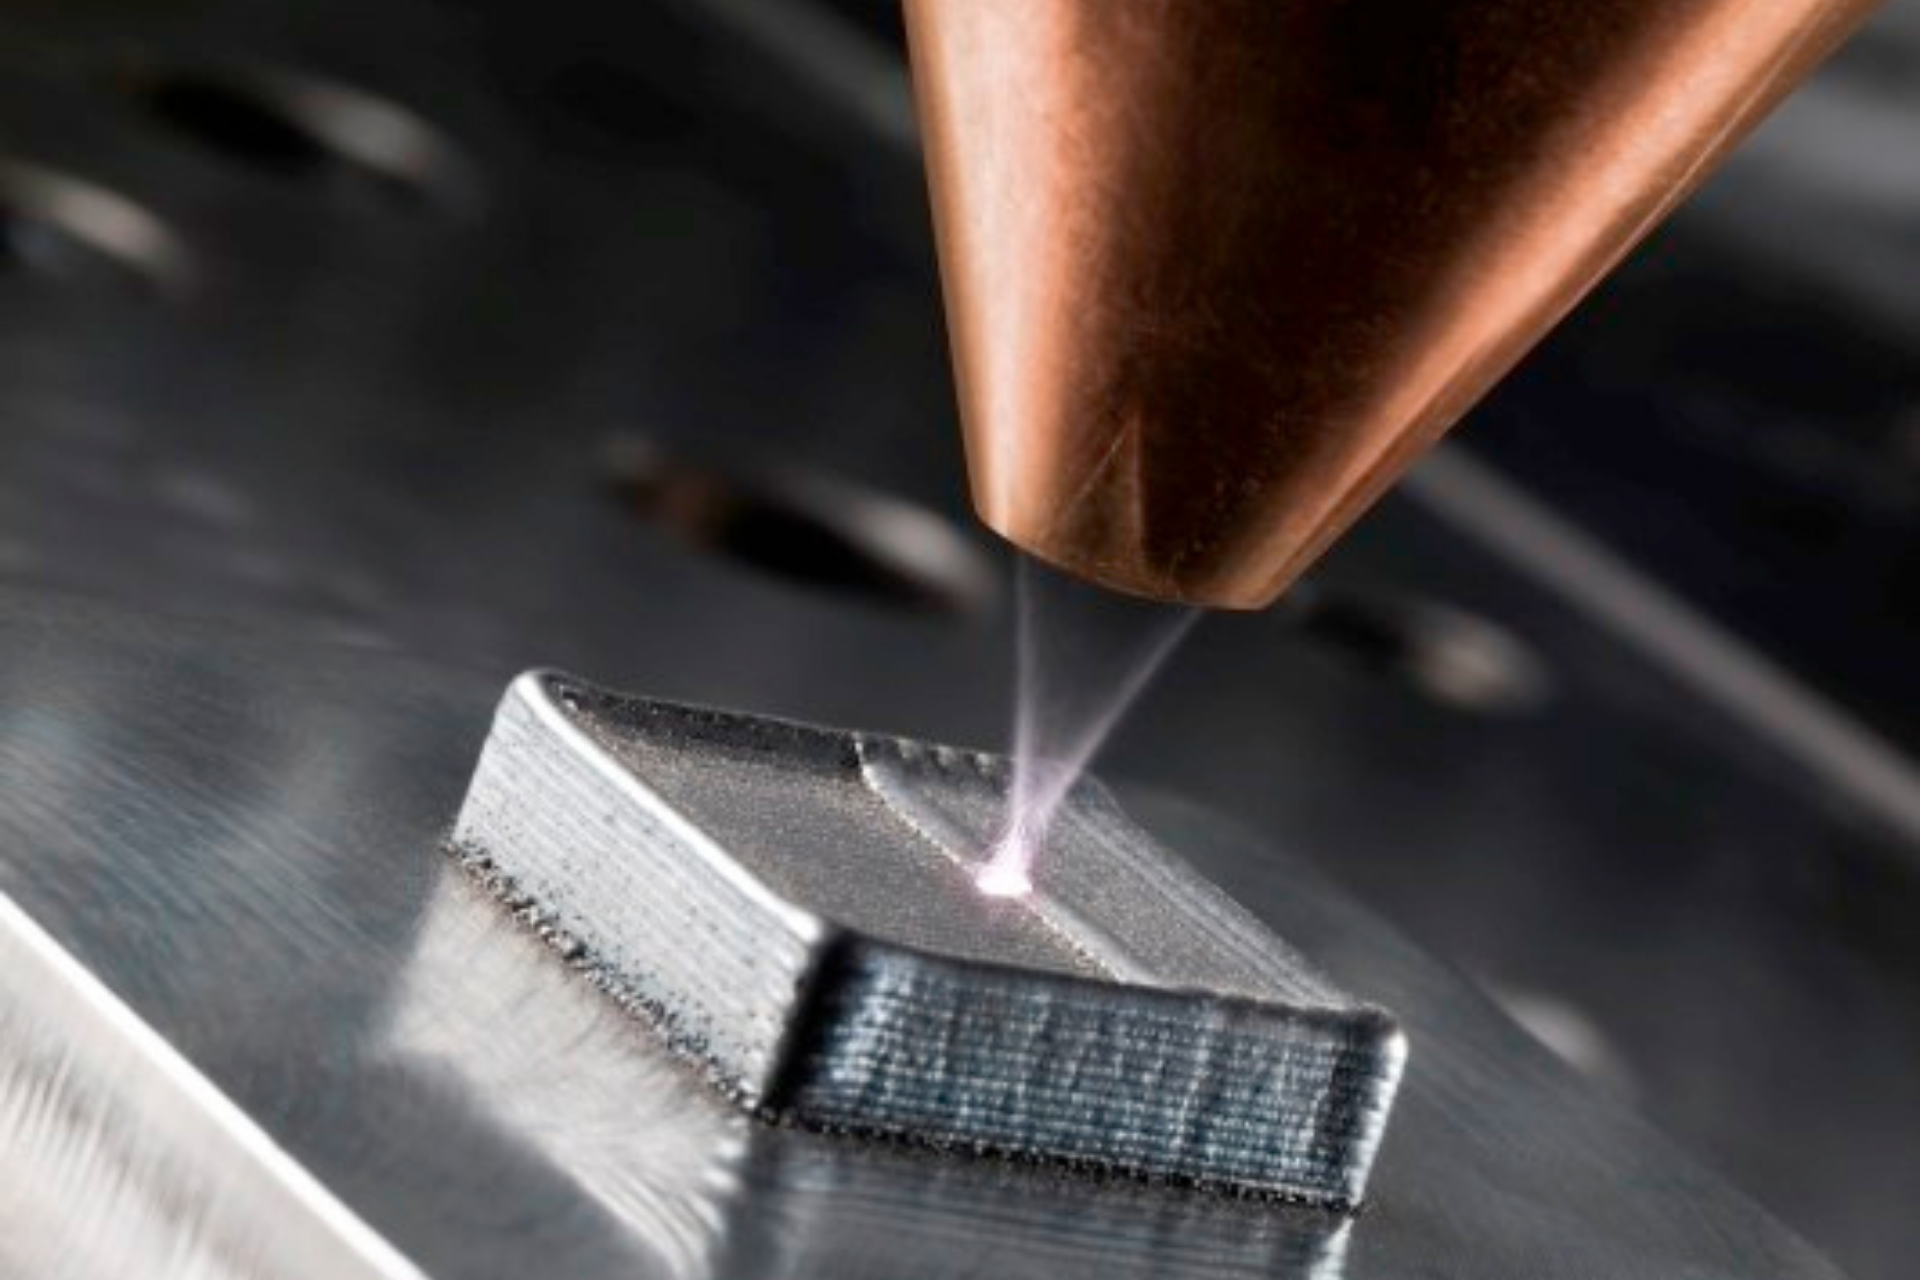
Additive manufacturing
Detecting lack-of-fusion and porosities live in the deposition process.
Composite inspection
Research and industrial laser-ultrasonic inspection of contoured aerospace composite material components.
Hot metal UT inspection
Since 1997, laser-ultrasonic systems have been used to measure the thickness profile of seamless tubes during the hot-rolling process. Tecnar’s dedicated product for this application, the Lut, has been installed in more than 25 seamless tube lines around the world. The latest model, version 2.0, is now the most reliable and accurate hot metal thickness gauge in the industry.
Other applications are now underway for continuous casting inspection.
Microstructure analysis: grain size, phase fractions, crystallization level and more
With the laser UT’s high ultrasonic bandwidth, metallurgists can dynamically observe microstructural changes, such as grain size, texture and phase variations. This new information enhances understanding of the annealing and rolling process of steel coils, allowing for fine tuning the models, enabling better industrial control and yield. Laser UT provides real-time microstructure information that’s impossible to obtain with classic metallography.
Additive manufacturing for in-line QC
Since laser UT is non-contact, high-frequency and highly focusable, it’s the perfect technology for the in-line inspection of metallic additive manufacturing. Tecnar’s high-power laser-ultrasonic detection system is well adapted for the rough surface of AM parts. Porosity and lack-of-fusion are easily detected during the manufacturing process.
Real-time weld inspection
Many technologies have entered the vast market of in-line weld inspection. Only the laser UT offers inspection capability within the narrow spaces of a line welder in conditions where contact is not an option and where time is critical. Tecnar is currently developing an on-line weld inspection system for coil joining, overlap seam welding and laser welding, and for shape-forming machines.
Thin coatings thickness and adhesion testing
Measuring thin coatings with ultrasound requires a very large bandwidth, above 100 MHz. Traditional transducers need a perfect coupling to the surface. Laser UT eliminates this difficult requirement. Such systems can easily generate up to 1 GHz of single-shot ultrasonic content, perfectly adapted for coatings with micron range thicknesses.
Complex composite parts inspection
Laser UT is a preferred solution for inspections requiring both non-contact and and tracking of complex-shaped parts. NDT of aerospace carbon fibre reinforced plastics (CFRP) with laser UT falls into this category. By using the proper optical wavelength for generation, efficient non-marking laser ultrasonic pulses can be used to detect delaminations, voids or inhomogeneities in composite structures.
Expand your research capabilities with laser UT
Laser UT opens new fields of investigation with ultrasound.
Modelling confirmation
Test your model without a disrupting sensor contacting the object of study. Laser-ultrasonic broadband and non-contact features give you all the information from the material only.
Surface and platewave
The flexibility of optical imaging allows you to launch surface and plate waves in your sample with a simple lens set-up. You can easily study vibration modes and surface properties with laser-ultrasonics.
Advance material characterization
New materials have new properties. Ultrasonics make it easy to investigate mechanical and microstructural properties, while laser-ultrasonics does it all in dynamic conditions, such as varying temperature and/or strain.
Interested in laser-ultrasonics testing?
Leave your details so our experts can contact you. Our team will answer all your questions and suggest the best solution for your needs.


